Summit day on Elbrus calls for a reliable vacuum flask of about one litre. The current list for the nine-day programme from the south specifically recommends a model with no button in the lid. The exact volume of fluid overall, and the plan of stops, are set by the programme, the weather and the guide’s decision, so no universal figure in litres can be laid down for every participant.
Why an ordinary bottle does not solve the problem
In the cold of the night, water in a thin bottle cools quickly and can begin to freeze. Cold liquid is unpleasant to drink, and a frozen lid will not open at the moment you need it. A vacuum flask keeps the drink at a usable temperature and protects it from the cold outside.
That does not mean the liquid should be scalding. A drink that is too hot cannot be finished quickly at a short stop. Settle the temperature beforehand and test it in training.
Why a lid without a button is more reliable
A push-button mechanism contains small parts and channels where liquid stays behind. In the frost it can pick up dirt, freeze or start to leak. A plain screw stopper is usually easier to check and easier to clean.
Any flask should be left full for several hours before the trip so that you can check how well it holds its temperature and whether it is watertight. If the lid is damp on the outside, or the body warms noticeably, the flask needs replacing.
What to put in it
A familiar warm drink, and no experiments with new additives. A mixture that is too sweet or too strong can cause thirst or discomfort. If you use a sports drink, test it on a long training session before the trip.
Alcohol is not a way of getting warm and should not be used on the route. Do not experiment with medicinal or stimulant additives unless there are medical grounds.
How to drink at altitude
The UIAA advises keeping fluid intake sufficient but not excessive. Forcing large volumes down is equally wrong. Go by the guide’s plan, by what you can tolerate, by the effort and by how you feel overall.
Small, regular sips are usually easier than occasional attempts to drink a lot at once. Do not wait for a marked dry mouth, but do not turn a figure chosen in advance into an obligation that ignores how you feel.
Where to carry the flask
The flask stands upright and is secured so that it neither bangs against your back nor falls out when the rucksack is opened. The lid has to be reachable without laying your down jacket and first-aid kit out on the snow. A separate bag protects everything else if it leaks.
The metal cup in the lid does not suit everyone: it can be dropped, and pouring takes time. Practise using the model you have chosen while wearing gloves, and decide whether you can drink safely straight from the neck.
What to check the evening before
- The body and the lid are undamaged
- The stopper is clean and screws in straight
- The flask does not leak when turned upside down
- The drink is at a suitable temperature
- The model fits the place chosen for it in the rucksack
- The volume matches the list and the guide’s instructions
After use, the flask is washed and dried right through with the lid off. The smell of an old drink and the film it leaves are harder to shift in a hut than at home. A new flask should not be filled for the first time immediately before the summit.
How drinking and eating are connected
Appetite can fall at altitude, but a sweet drink does not replace food and plain water across the programme as a whole. The drink in the flask is chosen as part of the overall eating plan. A mixture that is too concentrated is sometimes hard to drink on the move.
Salt and carbohydrates also come from food. Do not add large doses of electrolytes “just in case”, and do not mix several sports products without experience. If you have medical restrictions on fluids or salts, discuss them with your doctor before the trip and tell the organiser.
Hygiene and taste
A flask with a narrow neck is hard to clean in the field. Before the trip, remove any film, wash the stopper and make sure an old smell is not changing the taste of the water. A strong, unfamiliar smell can put you off drinking even when you feel perfectly well.
Do not share the neck of your flask with other participants. If a separate cup is used, keep it clean and do not stand it upside down on the snow or on the floor of the hut. Simple hygiene matters particularly before a long day. After a participant has been ill, their crockery is not passed on to anyone else without a proper wash. A separate, labelled cup reduces confusion in the hut and speeds up getting the whole group ready before the night start, without unnecessary rush.
Hire and the general list
A vacuum flask counts as a simple personal item, but it can be asked about at Rock and Rent along with the rest of the kit. Check the volume and the type of lid when you collect it. The remaining requirements are collected in the Elbrus equipment list.
Related programmes
The cards below lead to southern programmes of different lengths. Do not carry the food and water arrangements from one card across to another automatically.
-
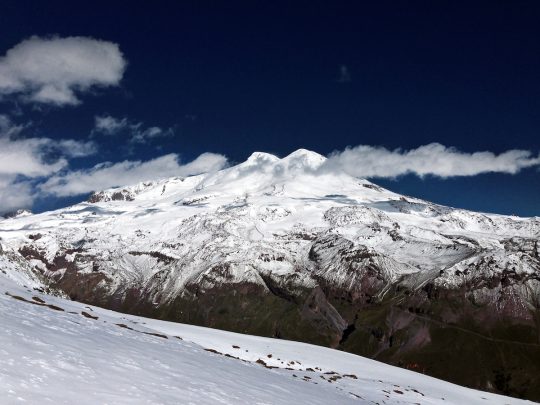 1,450 $
Climb Elbrus from the South, 7 Days
- Height (m)
- 5642
- Duration
- 7 días
- Difficulty
- Low
- Continent
- Europe
- Children
- Not suitable for children
- Accommodation
- No nights in tents
-
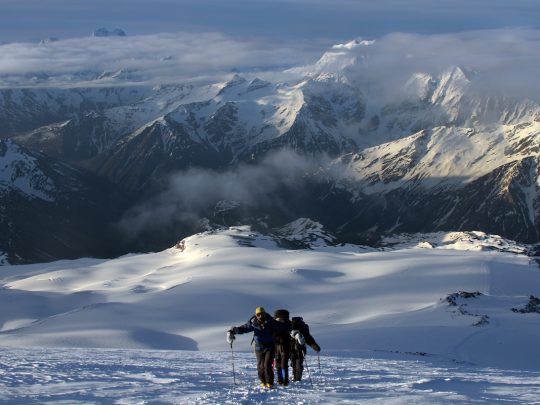 1,770 $
Climb Elbrus from the South, 9 Days
In summary
The summit calls for a proven one-litre vacuum flask with a plain, watertight stopper. The drink, its place in the rucksack and the way it is used are all tested beforehand. Drink enough, but never force it. The list can be checked with Mountain Guide by telephone +7(988)382-98-44.
Putting your kit together? Open the full contents page for mountain equipment: clothing, footwear, technical items, hire and route-by-route lists.