Trekking poles on Elbrus are used on the approaches, on acclimatisation walks and for part of the movement over snow. They help spread the load and hold a steady rhythm, but they are no substitute for an ice axe where your guide requires one. The kit list for the nine-day programme from the south specifies poles with baskets at least 70 mm across.
Why big baskets matter
A small summer tip sinks deep into soft snow and the pole stops giving you any solid support. A wide basket spreads the pressure over a much larger area. This is most noticeable in spring and early summer, but the conditions you actually meet depend on the season.
The basket must be fitted firmly and must not rotate. Removable parts are convenient to swap, but check before the trip that they fit your model. Different manufacturers use incompatible threads and fittings.
A carbide tip works on soil and rock, while a rubber cap protects flooring and baggage. Snow baskets reduce how far the pole sinks in, but they do not turn it into an ice axe and are not used for self-arrest.
Telescopic or folding
Either type can work, provided it takes the load and locks reliably. A telescopic pole is easier to adjust for length, but its sections and locks need checking regularly. A folding model packs smaller on the rucksack, though some lightweight versions are designed above all for running and do not take heavy sideways loading well.
For Elbrus, predictable performance in the cold and in gloves matters more than minimum weight. Try opening and closing the lock wearing thick gloves. If you have to take your hand protection off to do it, the model is a poor choice for a summit day.
Locks, sections and materials
Locks. An external lever lock is easy to check and to tighten; an internal twist lock is more compact, but its condition is harder to see. Whichever you choose, it must not slip or collapse under load.
Two sections or three. Three-section models pack smaller, while two-section models can be simpler and stiffer. Check the minimum folded length and your airline’s baggage rules.
Aluminium or carbon. Aluminium is usually heavier, but it takes isolated knocks better and may simply bend. Carbon is lighter and damps vibration, yet damage can lead to a sudden break.
Buying. Check that spare tips and sections are available, what the warranty covers and what the pair actually weighs. An ultralight model is no bargain if the lock holds poorly or the grip rubs.
Setting the length
On flat ground your arm normally keeps its natural angle; going up you shorten the poles, going down you lengthen them. The exact setting depends on the terrain, your height and your technique. Do not lock one length in for the whole programme.
Matching marks on the sections help you get both poles the same length quickly. Never extend a section past the manufacturer’s limit mark. If a lock starts to slip, stop and fix it rather than trying to put your weight on a pole that is collapsing.
Step technique. Plant the pole beside your body rather than throwing it far ahead. On the descent both poles should not go too far below you at the same time: that overloads the shoulders and creates a false point of support. Practise the movement on a safe path.
Straps and gloves
A wrist strap takes the load off your hand, but it should be used with thought. On some sections your guide may ask you to take your hand out of the loop so that the pole cannot drag you in a fall or get in the way while you handle equipment. There is no single rule for the whole route.
The grip has to fit inside a thick glove, and the strap has to be adjustable without a bare hand. Cork and foam feel pleasant on the approach walks, but on their own they say nothing about whether a pole suits snow and cold.
Poles are not a substitute for an ice axe
A pole is designed to support your balance and your rhythm. An ice axe has a different purpose and is used on the sections where the guide says so. You cannot leave your ice axe at the hut simply because you are more used to walking with two poles.
When you change equipment over, think in advance about where the poles will go. They must attach securely to the rucksack and must not stick out where they can catch the person next to you. Practise stowing them with gloves on.
Checks before the trip
- Every section extends and locks without slipping
- The baskets are at least the required size and fit the model
- The tips are not worn down or loose
- The length can be adjusted in thick gloves
- The poles attach securely to the outside of the rucksack
- Training brings on no pain in your wrists, elbows or shoulders
The full kit is set out in the Elbrus equipment list. Poles can be reserved from Rock and Rent, but ask about the availability of large snow baskets and check the locks when you collect them.
One pole or two
For a long approach two poles are usually more comfortable: the load is spread symmetrically and the rhythm is more even. A single pole leaves one hand free but creates an asymmetry and helps less on a long descent. What suits you depends on the section and on the guide’s instructions.
If a section breaks, do not carry on leaning on a pole with a crack or a slipping lock. Put it away and tell your guide. Tape may hold the parts together for transport, but it does not restore the designed strength.
Repairs. Take a key or a screwdriver if the lock needs adjusting, plus a small amount of material for a temporary fix. A cracked carbon section cannot be taped back to full working load; a damaged pole is replaced.
Getting poles ready to fly
Collapse the poles to their shortest length, clean the tips and fit the protective caps. In your baggage the sections must not sit under heavy equipment that could bend a tube or break a lock. Removable baskets are best packed separately and checked before you leave the hotel.
Rules on carrying sports equipment differ from airline to airline. Do not count on taking poles as hand baggage without checking. If you hire poles locally the transport question disappears, but it is still worth training with a similar model in advance. Once you have them, compare the section lengths, the type of locks and the position of the straps with what you got used to in training.
Trekking poles in Nepal
Nepal. On long descents the poles are particularly useful, but steps and narrow bridges call for stowing them or placing them more precisely. Do not get in the way of porters or animals, and give way on the side the local team indicates.
Related programmes
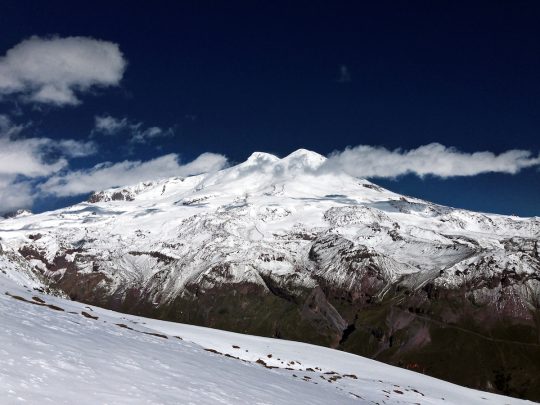
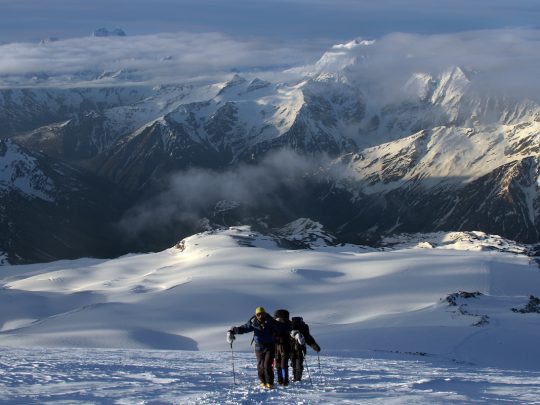
The cards below lead to two programmes from the south of differing lengths. Check the kit list and the seasonal advice against the card you choose.
-
 1,750 $
Climb Elbrus from the South, 7 Days
- Height (m)
- 5642
- Duration
- 7 days
- Difficulty
- Moderate
- Continent
- Europe
- Children
- Not suitable for children
- Accommodation
- No nights in tents
-
 2,150 $
Climb Elbrus from the South, 9 Days
In short
What works on Elbrus is a strong adjustable pole with large snow baskets and locks you can operate in gloves. Test them in training and attach them securely to your rucksack. They help you walk, but they replace neither an ice axe nor the guide’s decisions. For advice: Mountain Guide.
Putting a kit together? Open the full contents page for mountain equipment: clothing, footwear, technical items, hire and route-by-route lists.